Posts

    Tuesday, 27 October 2015

    USB debugging toggle widget

    Like I told you few days back in this post, I made a widget for android to toggle USB Debugging - ADB (Android Debug Bridge). Today, I will tell you more about it.


    There are many alternatives to this. However they either require you to make the app a system app or they simply open the settings page. As this was not exactly what I wanted, I made one myself that allows me to enable/ disable USB debugging on click. You can get the app from here.

    Download ADB Toggle

    Fork me on Github


    You DON'T have to make this a system app!.


    Sunday, 25 October 2015

    Using WRITE_SECURE_SETTINGS permission on non system apps

    I happen to frequently use an app that doesn't work if USB Debugging - ADB (Android Debug Bridge) is enabled. It is very cumbersome to go to settings and enable or disable the setting every time I need to use the app.
    I checked if there are any widgets that could do this in a click and returned empty handed. So, I did what every developer would do - build it myself!

    In order to change the adb settings, I had to use WRITE_SECURE_SETTINGS permission. But there was one major problem! This permission is not available for non system apps!!

    The easiest solution to this was to move the apk to /system partition. Except that I didn't want to do this as I frequently keep flashing /system partition.

    Another solution was to use pm and grant permission to the app like this:

    adb pm grant <package name> android.permission.WRITE_SECURE_SETTINGS

    This was great! However I didn't want users who were gonna use the app to go through all this pain. I had to figure out a way to do the same programmatically. So I did the next best thing! To run the command after opening a root shell in the code.

    Here is how I did it.
    This requires root. But that's ok.

    Tuesday, 8 September 2015

    The Infamous battery re-calibration bug in Lenovo Thinkpad

    My brand new Lenovo Thinkpad is a beast and is supposed to give up to 8hrs of battery backup. But there was a weird problem. As soon as the battery remaining reached 30%, it used to drop to 6% in a second. When I looked up on google, I found out that I was not the only one facing this problem. Most of them suggested that my battery was shot and that I had to buy a new one. This is highly improbable as it is brand new. I wanted to give fixing it a try before contacting customer care. And I was successful!

    Before - See the battery percentage drop from 30% to 6%

    For some reason, I suspected that it was somehow TLP's fault. TLP is the best power management utility for Thinkpad in Linux. It allows you to set max charging threshold so that you will be able to connect your laptop to the plug point without worrying about over charging (among many other features it provides). I felt that it is because of this, battery calibration was getting screwed up. So I set the maximum threshold to 100%.

    Open /etc/default/tlp and set following variables.


    START_CHARGE_THRESH_BAT0=100
    STOP_CHARGE_THRESH_BAT0=100


    Then I restarted my laptop to bring this to effect. As the calibration was already offset by a great extent, the only way to fix it was to keep it charged for a long time. I kept it charging for almost a day.


    After - Fixed!
     Then to test it I kept discharging it. And to my surprise, it didn't drop from 30% to 6% this time!!
    So the problem was with calibration and not because the battery is broken. If you face this problem, you can try this solution once before you spend $$$ on buying a new battery.

    Now that I have changed the battery threshold back to 85%, if this problem occurs again, all I have to do is follow the above steps.

    Sunday, 6 September 2015

    Download only part of a repository in github

    Sometimes you would want to download only a part of a repository in Github but you don't want to download / clone the entire repository, specially when the repo is huge or has too many other things that you are not interested in. There are many ways to do this. For example you can do a shallow clone, or you can use Github API (there is a limit on number of requests per hour)..etc. However, none of them are simple and straightforward. 

    I recently found out that Github supports svn to some extent. So I tried the age old svn export to download a part of the project I was interested in. And it worked.

    svn export https://github.com/<username>/<project name>/trunk/<folder path>

    For example:


    If you want to download only docs from Bootstrap repository,

    svn export https://github.com/twbs/bootstrap/trunk/docs

    Now, suppose you want to download it with a different name,

    svn export https://github.com/twbs/bootstrap/trunk/docs bootstrap-docs


    Monday, 3 August 2015

    Material Theme for Google Blogger

    Inspired by Google's Material Design principles, this generates Material themes for Google Blogger using sass preprocessor.

    Fork me on Github


    Here are some of the themes generated with material-blogger

    Get themes


    Honor Theme


    Aqua Theme

    Pink Ribbon Theme


    Sample Widgets

    Button

    Search Results
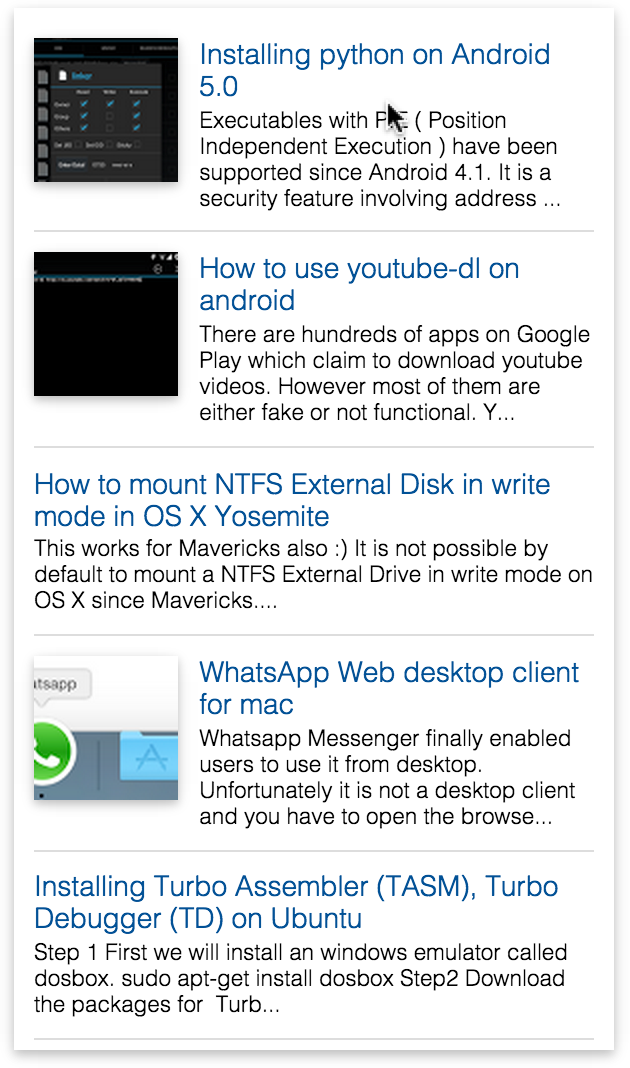
    Popular Widget
    Widget (Aqua Theme)
    Archive


    To see how to use it, see this


    Tuesday, 21 July 2015

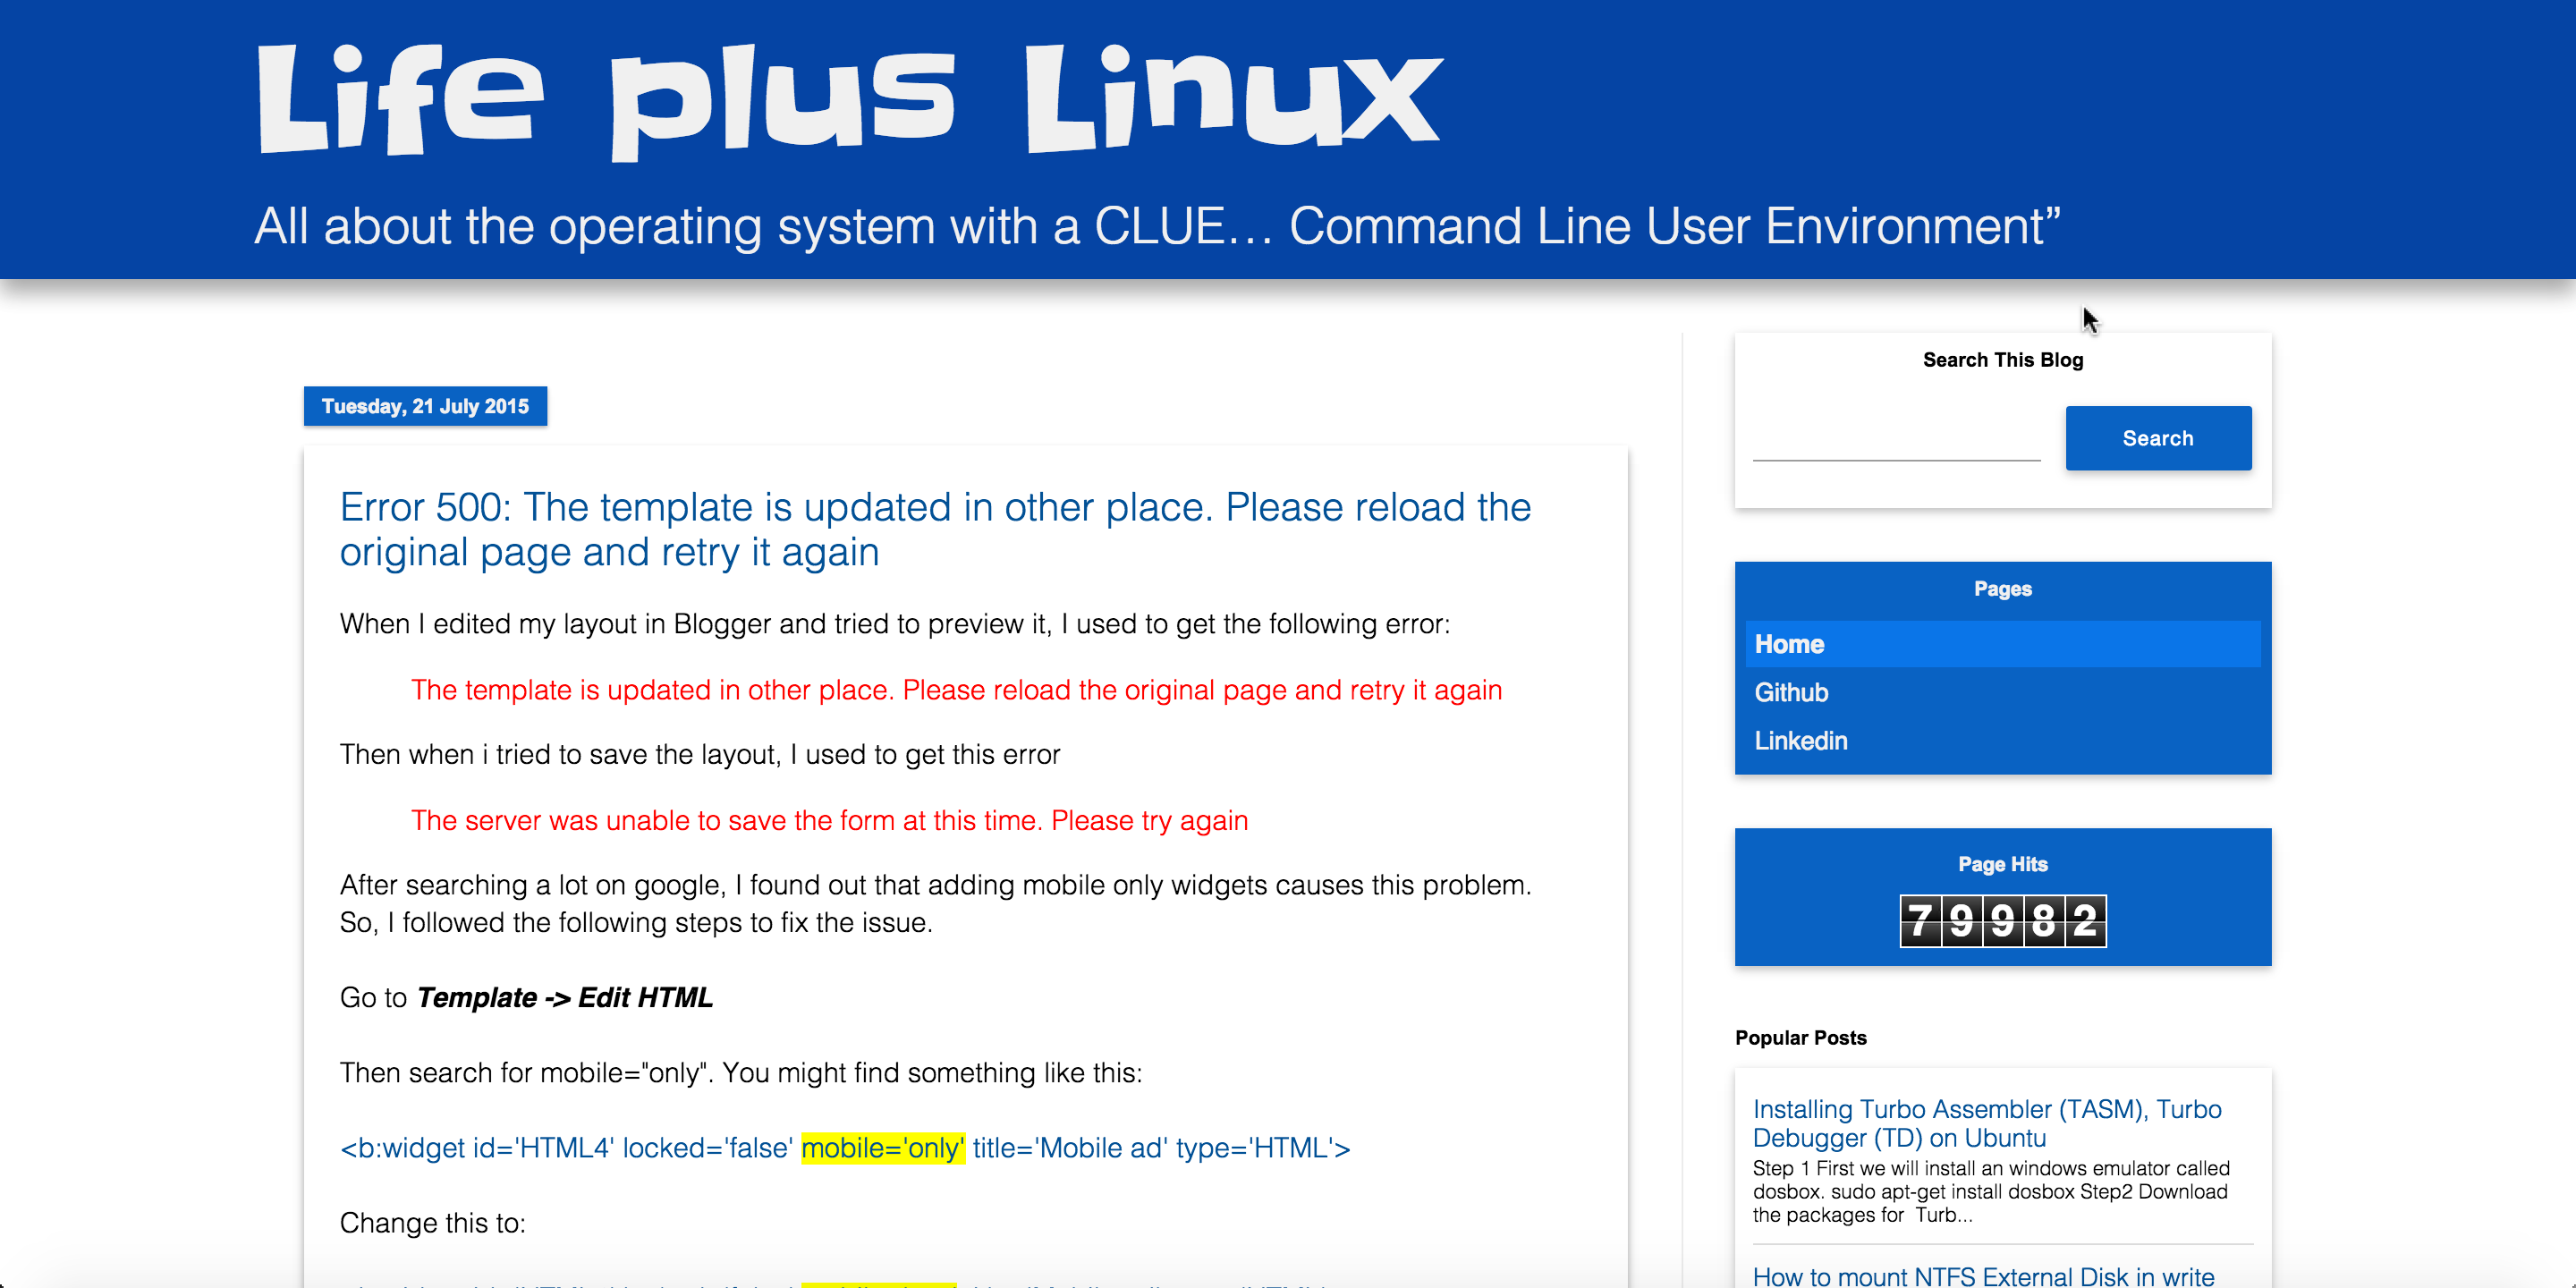
    Error 500: The template is updated in other place. Please reload the original page and retry it again

    When I edited my layout in Blogger and tried to preview it, I used to get the following error:
    The template is updated in other place. Please reload the original page and retry it again
    Then when i tried to save the layout, I used to get this error
    The server was unable to save the form at this time. Please try again
    After searching a lot on google, I found out that adding mobile only widgets causes this problem.
    So, I followed the following steps to fix the issue.

    Go to Template -> Edit HTML

    Then search for mobile="only". You might find something like this:

    <b:widget id='HTML4' locked='false' mobile='only' title='Mobile ad' type='HTML'>

    Change this to:

    <b:widget id='HTML4' locked='false' mobile='yes' title='Mobile ad' type='HTML'>


    This will solve the problem. I think google should do something regarding this problem as it is not that straightforward to fix this.

    Wednesday, 15 July 2015

    ERR_TUNNEL_CONNECTION_FAILED on mobile network on android

    For the past few days, whenever I tried to access any site with HTTPS, I used to get this error.


    "This webpage is not available
    ERR_TUNNEL_CONNECTION_FAILED"

    This used to occur only on mobile network (airtel) and not on WiFi. At first it seemed to be a problem with chrome. But the same problem was there in other browsers. After breaking my head for a while I read somewhere that android doesn't support SSL over any port other than 443 (too weird to be true). But this couldn't be the issue because https://google.com , https://twitter.com etc use 443. 

    Upon investigating further, I realized that it is a very silly issue. It is because the default Access Point (Airtel Live) that came with my carrier (airtel) had a proxy that was not allowing SSL Tunneling.


    After setting Proxy and Port to nothing, the problem was solved!

    Monday, 6 July 2015

    Celebrating the return of Dragon Ball: Kamehameha boot animation


    I am sure many of you are excited about the return of DragonBall after 18 years as DragonBall Super! Although I saw the original series much after it ended, I am a great fan of it and the fact that it gave birth to a new generation of anime is just amazing. Hats off to you Akira Toriyama!

    To celebrate the return of DragonBall, I made a video of me performing the classic Kamehameha attack and made it my phone's boot animation. Here is the Vine of the video I made:

    .

    Grab the Adobe After Effects project of this video from here.

    Here is how it looks while phone is booting:


    Boot animation in android comes from the file called bootanimation.zip which is at /system/media. This file essentially consists of sets of sequences of images which have to be shown one after the other. Here we need to generate bootanimation.zip with just one sequence of images (extracted from the video) which runs in a loop. As there is no tool which can do this, I wrote a simple shell script.

    Here we have to generate two things.

    1. Folder with sequence of images.
    2. Description of bootanimation.zip, which tells what to do with the images.


    After running this script,  bootanimation.zip is generated. Now move it to /system/media and set the permissions to 0644 (rw-r--r--)


    Now reboot the phone and you are done!

    KAAAAAAMEEEEEEEHAAAAAAMEEEEEHAAAAAAAAAAA!


    Sunday, 21 June 2015

    Play computer games through android wear using Magneto

    I recently wrote an article called "Magneto = Gyroscope + Accelerometer + Geomagnetometer" where in I explained how to use Gyroscope, Accelerometer and Geomagnetometer to map your movements to mouse movements. In this article I will show you how to use Magneto 2.0 to play computer games using your android wear or phone.

    Here is a video of me playing few computer games using my android wear


    How to use it?


    Setup

    Unfortunately, I haven't made a simple way to do this YET. And this is available only for Linux and Mac. If you wan't to give a try you will have to follow all these steps. I am assuming that you have ADT setup.

    Download Magneto apk


    For android wear:
    1. Enable developer options on your android wear and turn on USB debugging. See this to see how to enable bluetooth debugging for your watch.
    2. After you are successfully able to connect to your watch from your computer, install the apk.
      adb install [location to the apk]
    3. You are done. Now go ahead and open it on your wear

    For android phone:
    1. Enable developer options on your android device and turn on USB debugging or ADB over wifi.
    2. Install the apk like any other.
    3. You are done. Now go ahead and open it on your device.
    Linux users have to install xdotool:

    Ubuntu/ Debian users
    sudo apt-get install xdotool
    Fedora users
    sudo yum install xdotool
    Arch users
    sudo packman -S install xdotool

    Start Magneto on computer

    Download this shell script and run it.

    For android wear and linux
    ./nav -lw
    For android wear and OS X
    ./nav -ow
    For android phone and linux
    ./nav -lp
    For android phone and OS X
    ./nav -op

    Calibration

    Calibrate what is left, right, top and bottom.
    1. Hold your device in front of the computer screen. This will be your initial position.
    2. Rotate your hand to left position and click on L. So, this will mark the region beyond it as Left. Then rotate your hand to the right and click on R. This will mark the region beyond it as Right. Similarly, do the same for Top (T) and Bottom(B)


    3. If you feel that you have to redo it, press RESET button and click on the letter. When the letter becomes L (capital L), redo Step 2.

    Playing

    See the video where I am playing Temple Run Online, Tetris and Pacman using my android wear!

    Contributing


    Fork me on github


    There is a lot of scope for improvement. For instance, I haven't written the navigation script for windows. Pull requests are welcome.


    You might have noticed the COMMAND button. It takes voice commands from the user and sends it to the computer. I will talk about that in another article.


    Sunday, 14 June 2015

    Crontab UI: easy and safe way to manage your crontab files

    Editing the plain text crontab is error prone for managing jobs, e.g., adding jobs, deleting jobs, or pausing jobs. A small mistake can easily bring down all the jobs and might cost you a lot of time. With Crontab UI, it is very easy to manage crontab.


    Here are the key features of Crontab UI:

    1. Easy Setup
    2. Safe adding, deleting or pausing jobs. Easy to maintain hundreds of jobs.
    3. Backup your crontabs.
    4. Export crontab and deploy on other machines without much hassle.
    5. Error log support

    Fork me on Github

    Setup

    You have to setup crontab-ui on all the machines on which you want to manage crontab. Note that while running Crontab UI, you have to be on the same user as that of the crontab.

    npm install crontab-ui
    crontab-ui

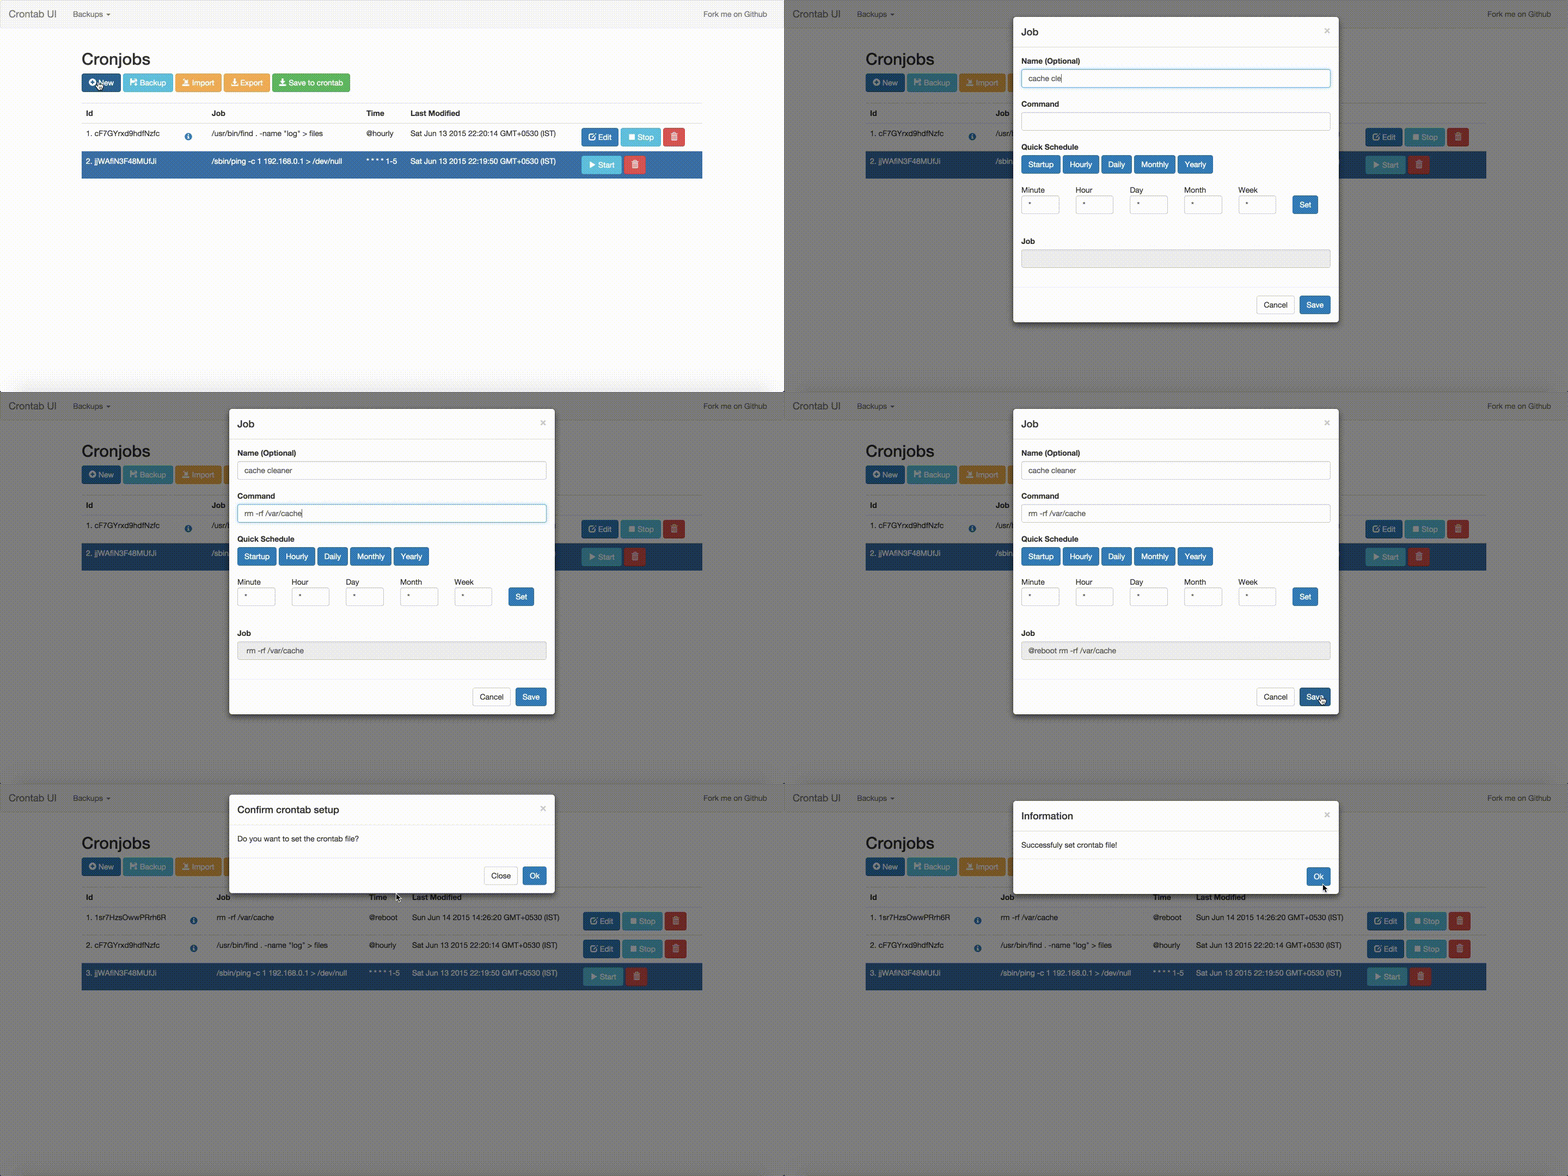
    Adding, deleting, pausing and resuming jobs.

    Once setup Crontab UI provides you with a web interface using which you can manage all the jobs without much hassle.


    Backup and restore crontab

    Keep backups of your crontab in case you mess up.


    Export and import crontab on multiple instances of Crontab UI.


    If you want to run the same jobs on multiple machines simply export from one instance and import the same on the other. No SSH, No copy paste!


    But make sure to take a backup before importing.

    See when the job is going to run next.


    Separate error log support for every job


    These are some of the things I am planning to add in the future


    1. Run jobs as different user in one place.
    2. Profiling jobs.
    3. Importing from existing crontab file.

    Contribute

    Fork Crontab UI and contribute to it. Pull requests are encouraged.